(1)")
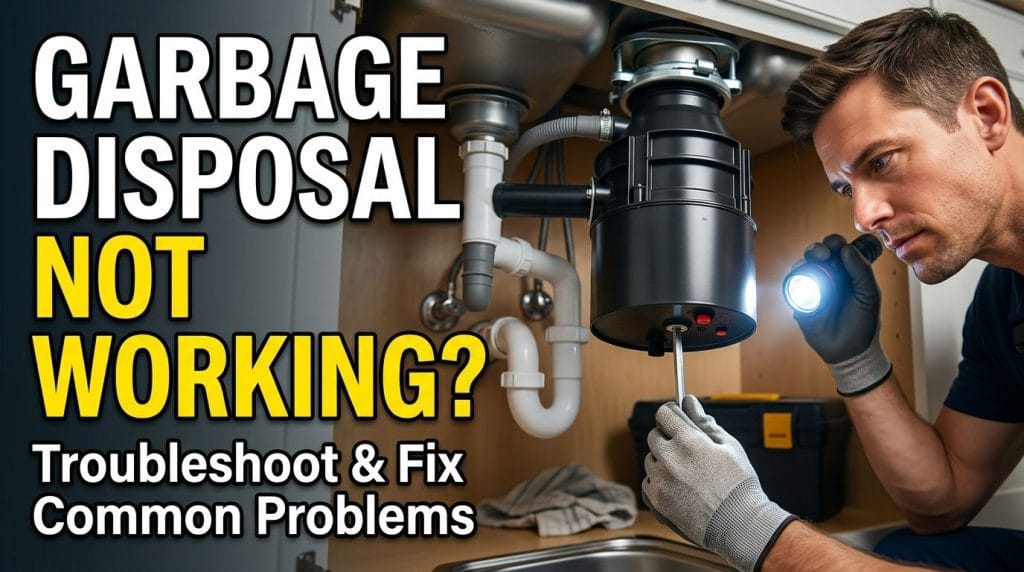
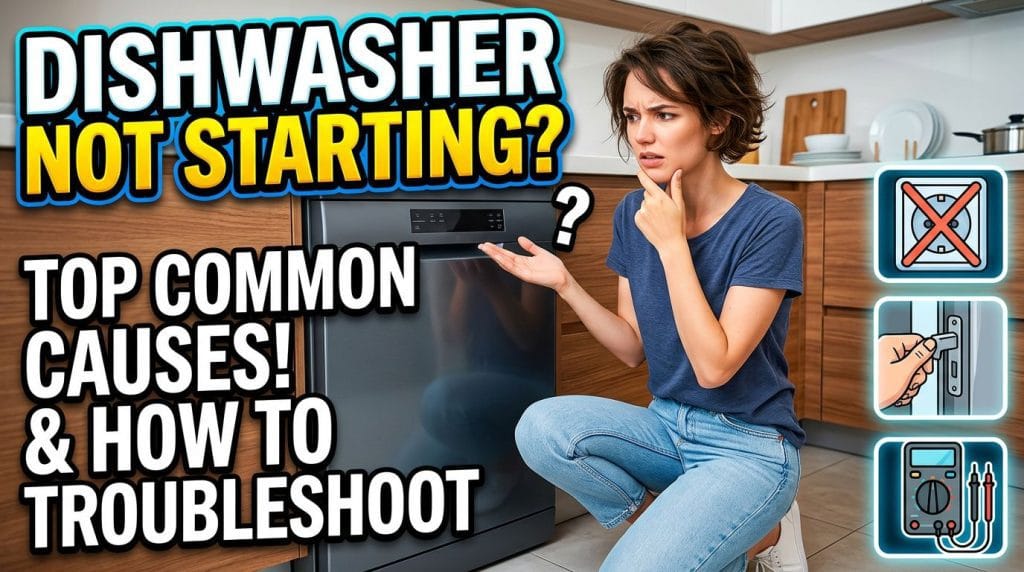
Garbage Disposal Not Working — How to Troubleshoot and Fix Common Problems
Your garbage disposal just went silent mid-cleanup, and now you’re standing at the sink wondering what went wrong. This guide walks you through the most common reasons a garbage disposal stops working and exactly what to do about each one, so you can get your kitchen back on track without guessing. A dead garbage disposal is one of those problems that feels bigger than it is. Flip the switch, nothing happens, and suddenly doing dishes becomes a whole ordeal. At Vancouver Appliance Service Pros, we hear from homeowners dealing with this regularly, and the good news is that most disposal problems follow a pretty short list of causes. Vancouver’s older housing stock, especially homes with kitchens that haven’t seen updates in a decade or two, tends to produce more of these calls than newer builds, partly because the disposals are aging right alongside everything else under the sink. There’s a logical order to troubleshooting this, and working through it step by step will either fix the problem or tell you exactly what you’re dealing with. Let’s get started. Key takeaways A disposal that’s completely silent points to a power problem first – check the outlet, GFCI, and breaker before assuming the unit is dead. A humming sound with no grinding almost always means the flywheel is jammed, not that the motor has failed. The reset button on the bottom of the unit is a built-in thermal overload – if it won’t stay in, the motor may need time to cool down, about 10 to 15 minutes. A 1/4-inch hex wrench inserted into the bottom port lets you manually rotate the flywheel to free a jam without touching the blades. Most replacement disposals run between $100 and $200, and swapping one out is a manageable DIY job if you buy the same brand as your existing unit. If the disposal is leaking from the bottom near the reset button, that typically signals a cracked internal seal, and replacement is usually the right call. Why your garbage disposal stopped working The honest answer is that it depends on what you’re hearing, or not hearing. Complete silence when you flip the switch points squarely at a power issue. A humming noise without any grinding action tells you the motor is getting electricity but the flywheel is stuck. Slow draining with the unit running normally suggests a clog downstream. Each symptom points in a different direction, which is why starting with what you observe matters. In our experience, the most common call we get goes like this: homeowner flips the switch, nothing happens, they assume the disposal is burned out. Nine times out of ten, it’s something much simpler. A GFCI outlet that tripped during a power blip, a plug that worked loose under the sink, or a reset button that popped and just needs to be pressed back in. These take two minutes to check and cost nothing to fix. That said, disposals do fail. The motor burns out, usually after years of use or after running jammed for too long. Internal seals crack. The flywheel corrodes if the unit sits unused for extended periods. Age matters, too – a unit that’s pushing 10 to 12 years old and showing multiple symptoms is probably ready to retire. What to check when the disposal is completely silent No sound at all when you flip the switch means the motor isn’t receiving power. Work through this in order before you do anything else. First, check whether the unit is plugged in. It sounds obvious, but items shift around under the sink all the time, and a plug can work loose without anyone noticing. If you can see the outlet, unplug it and plug in a lamp or phone charger to confirm the outlet itself is live. If you can’t access the outlet because the disposal is hardwired directly into the wall, skip to the next step. Next, look for a GFCI outlet. These are the outlets with the small test and reset buttons on the face, and they’re common in kitchens because code requires ground-fault protection near water. The one protecting your disposal circuit might not be right under the sink – it could be on a nearby counter outlet, behind the dishwasher, or even in another room sharing the same circuit. Press the reset button firmly. Some people find they need a pen or small tool to get it to click. The U.S. Consumer Product Safety Commission has useful information about GFCI outlets and why they trip, which can help you understand what you’re looking at. If the outlet and GFCI check out, head to the breaker box. Tripped breakers don’t always flip all the way to the off position – they stop somewhere in the middle, which makes them easy to miss. Look for any breaker that isn’t fully seated in the on position. Don’t rely on the labels, because those often haven’t been updated to reflect what’s actually on the circuit. Flip the suspected breaker fully off, then back on. The reset button on the disposal itself There’s a small button on the bottom of the disposal unit, usually red. This is the built-in thermal overload, and it pops out when the motor gets too hot. Press it firmly – it sometimes needs more pressure than you’d expect, and a pen or small screwdriver can help. If it clicks and stays in, restore power and test the unit. If the reset button pops right back out again, the motor is either still hot or there’s an ongoing issue. Give it 15 minutes to cool down, then try again. If it continues to trip immediately, that points to either a persistent jam or motor trouble. How to fix a jammed disposal If you’re hearing a hum when you flip the switch but the disposal isn’t grinding, the flywheel is jammed. The motor is running, trying to turn, but something is blocking it. Turn the unit off right away when this happens –
Garbage Disposal Not Working — How to Troubleshoot and Fix Common Problems Read More »