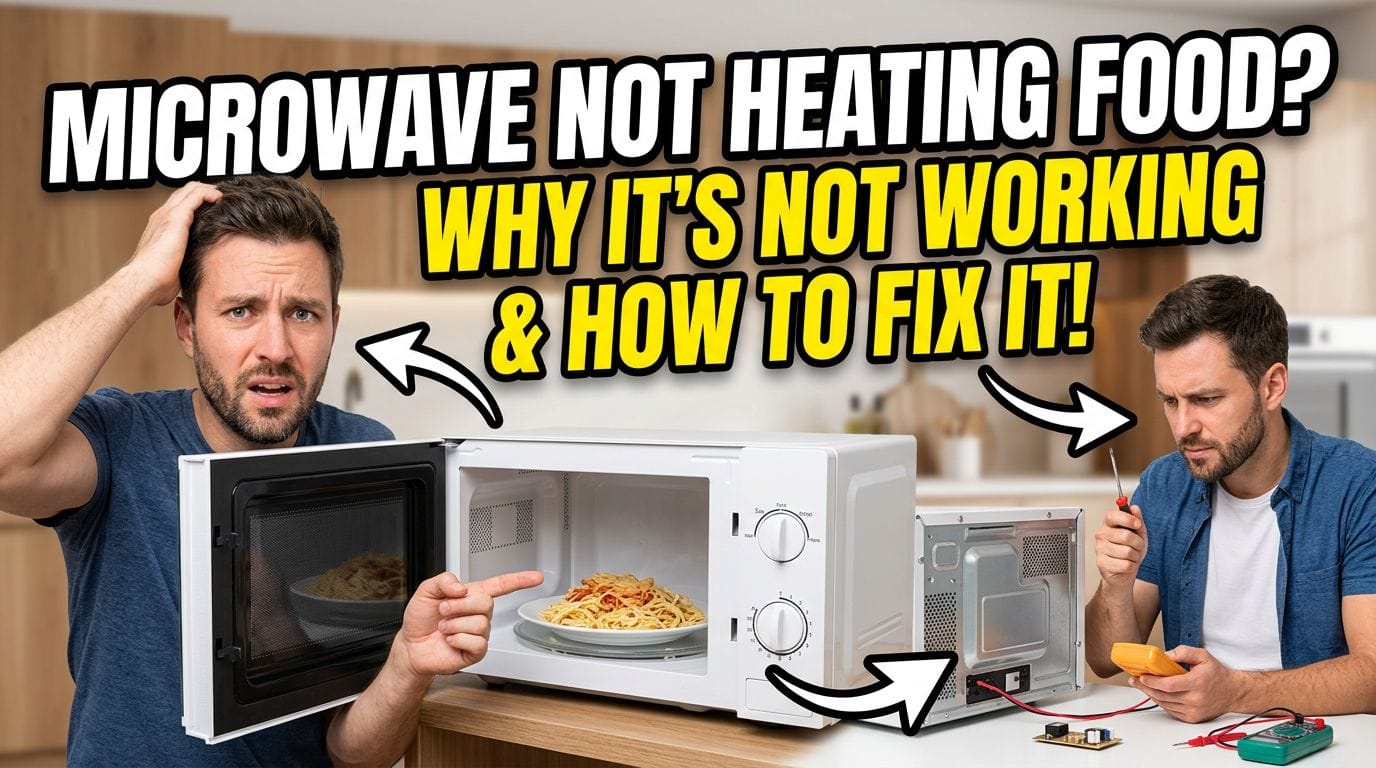
(1)")
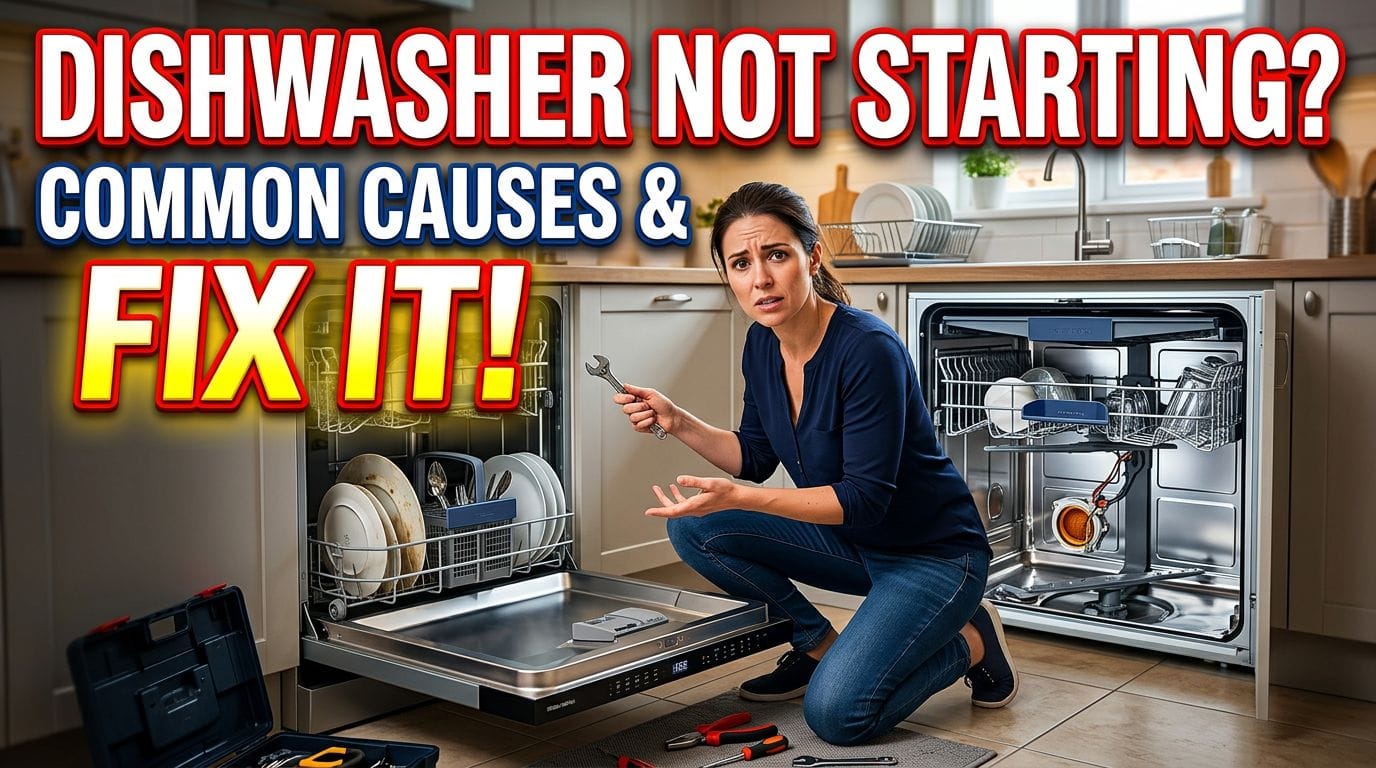
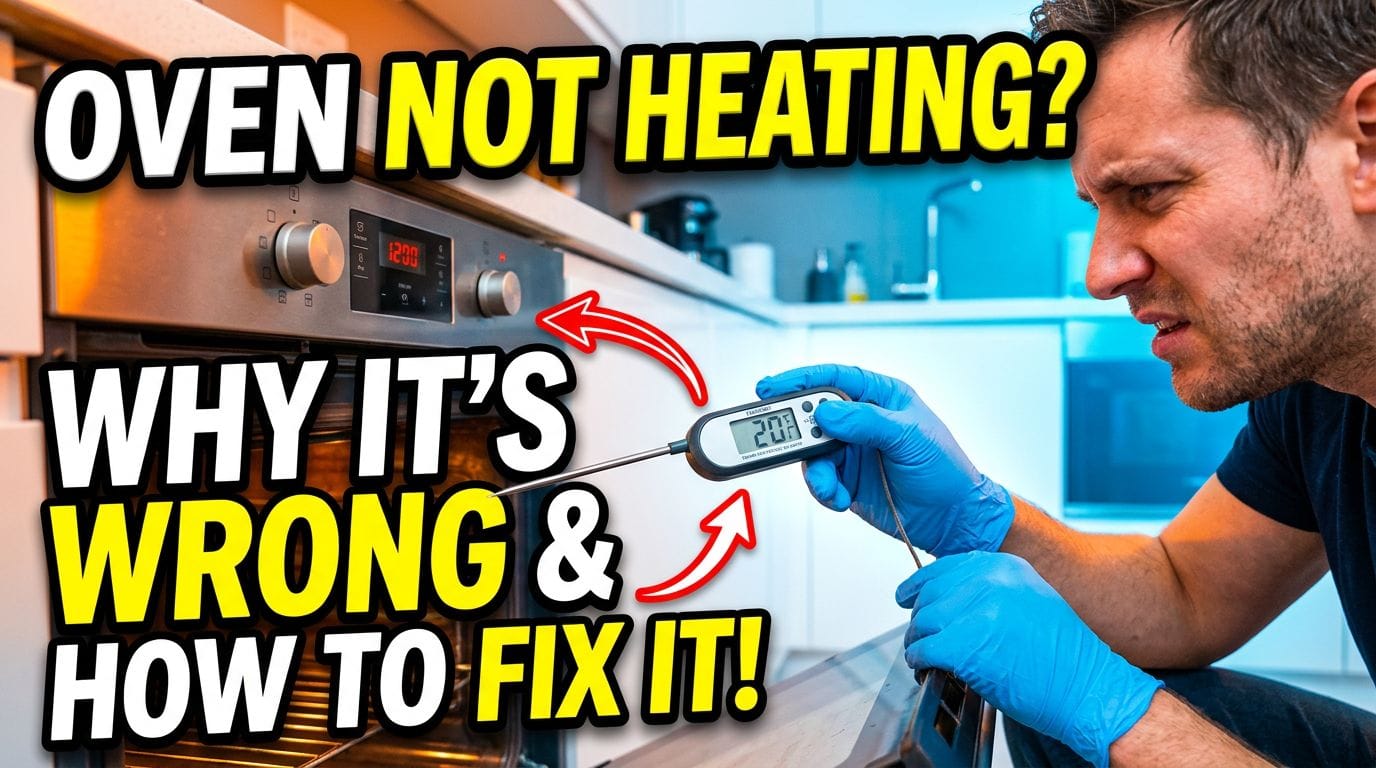
Your oven was set to 450°F for two hours and the inside was barely warm enough to touch – that’s not a minor hiccup, that’s a broken oven. This guide walks you through the most common reasons an oven stops heating properly and what you can realistically do about each one. Ovens are remarkably reliable appliances – until they’re not. In Vancouver, where we lean hard on our ovens through long, grey winters and rainy weekends that beg for something slow-roasting in the kitchen, a cold oven is a real problem. The city’s mix of older homes and newer condos also means we see a wide range of appliance ages and conditions, which matters when you’re trying to figure out whether you’re dealing with a simple fix or something more serious. At Vancouver Appliance Service Pros, we get calls about oven heating problems regularly. What surprises most homeowners is how often the cause is something straightforward – a visible burn mark on a heating element, a sensor that shifted out of position – rather than some deep electrical mystery. That said, some of these repairs do require a professional, and knowing the difference saves you time, money, and potentially a safety risk.
Key takeaways
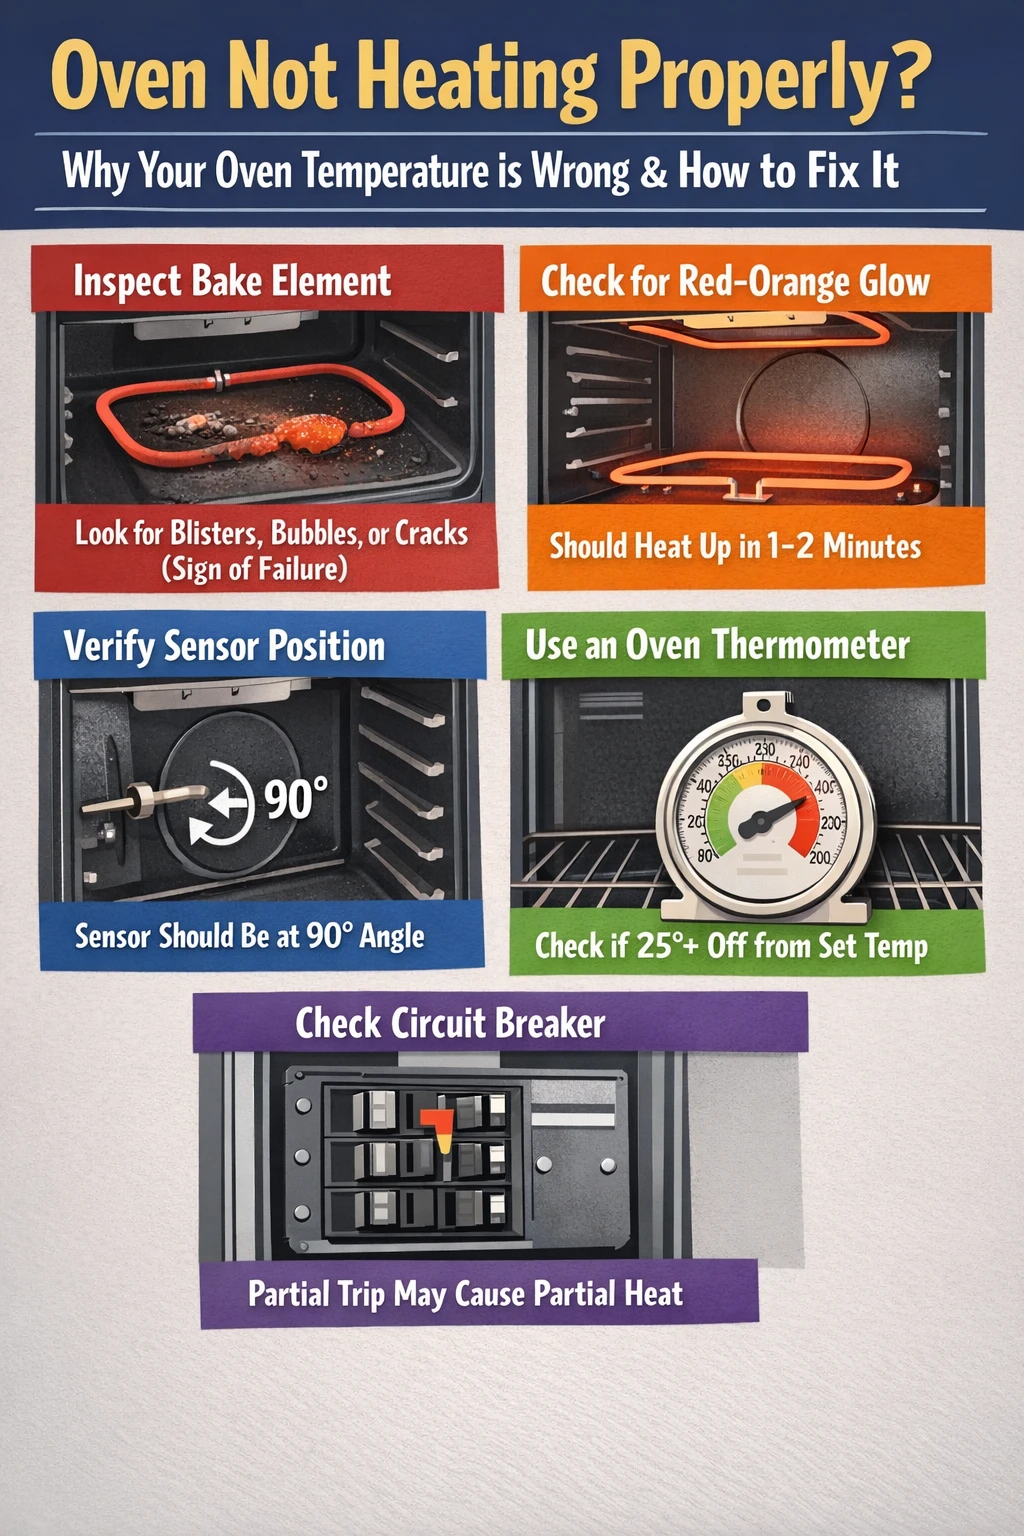
- A baking element that looks blistered, bubbled, or cracked is almost certainly the cause of an electric oven failing to heat – visual inspection alone can confirm this.
- A healthy bake element should glow red-orange when the oven is on; if it stays dark, that’s a clear sign it has failed.
- The temperature sensor inside your oven should sit at a 90-degree angle to the back wall – even a small bump can cause inaccurate temperature readings and uneven cooking.
- Most modern ovens with electronic controls can be recalibrated by up to 35 degrees Fahrenheit in either direction, which is enough to correct a consistently off-temperature oven.
- A gas oven that heats only partially – feeling warm but never hot – often points to a voltage problem or a failing igniter rather than a fully dead component.
- Repair versus replace is a real decision: if the repair cost approaches or exceeds half the price of a comparable new oven, replacement is often the smarter call.
Why your oven isn’t heating properly
The most likely reason your oven isn’t heating properly depends on whether it’s electric or gas, but both types share some common failure points. For electric ovens, a failed baking element is the most frequent culprit. For gas ovens, a weak or dirty igniter causes most heating problems. Beyond those two, a faulty temperature sensor, a tripped circuit breaker, or an oven that simply needs recalibration can all produce the same frustrating result – a cold or barely-warm interior despite a normal-looking display. What often throws homeowners off is that the oven can appear to be working. The control panel lights up, the display shows the set temperature, and the oven even feels slightly warm to the touch. That partial heating is actually an important clue. An oven that’s completely cold usually points to a power issue – a tripped breaker, a loose connection, or a fully failed component. An oven that gets warm but not hot is more often a partially failed element, a voltage problem, or a sensor giving false readings that cause the oven to cut off heat too early. It’s worth mentioning that an oven running on only 110 volts instead of the standard 240 volts will heat weakly rather than not at all. This can happen if one leg of the breaker has tripped without fully flipping to the “off” position. It looks normal at the panel but behaves strangely in the kitchen.
Checking the heating element first
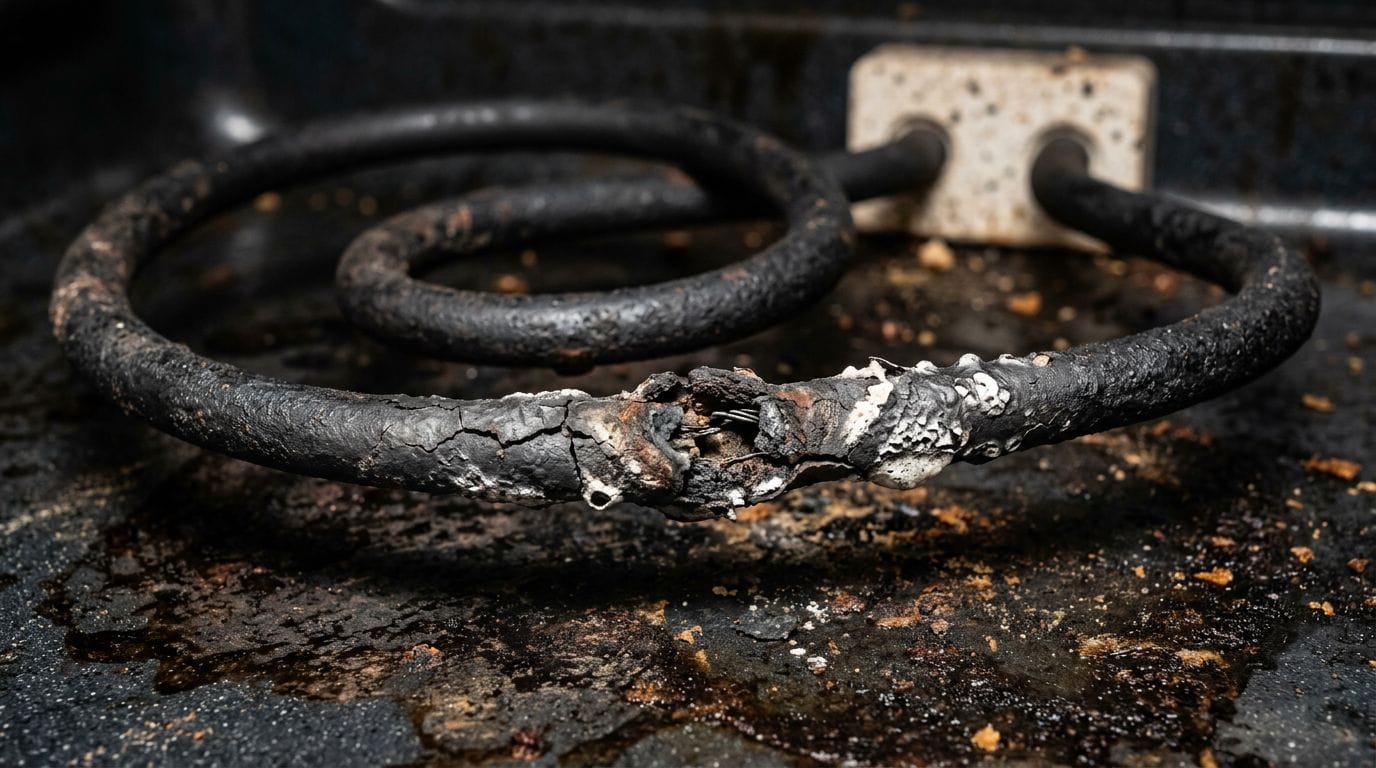 If you have an electric oven, the bake element – the large coil or bar running along the bottom of the oven cavity – is the first thing to look at. Most electric ovens rely on this element for around 90% of the heat during a baking cycle, with the broil element at the top handling the rest. When the bake element fails, food may not cook at all, or it might scorch on top while the bottom stays raw, because the oven compensates by running the broil element harder. Inspecting it is easy. Look for blisters, bubbles, cracks, or dark spots on the element’s surface. Any of those signs means it has failed and needs replacing. If the element looks physically fine, turn the oven to bake and watch – a working element will start to glow red-orange within a minute or two. If it stays dark and cold, it’s likely burned out even without visible damage. Testing with a multimeter confirms the diagnosis. A functioning bake element should show somewhere between 10 and 75 ohms of resistance. No resistance reading at all means the circuit is broken and the element is done. You can find replacement elements using your oven’s model number – typically printed inside the oven door frame – through parts suppliers like RepairClinic. One thing to be careful of during replacement: don’t let the wire connectors inside the back wall pull back into the insulation when you disconnect the old element. If they disappear into the wall, it turns a simple swap into a much bigger job.
What about the broil element?
The broil element at the top of the oven can fail independently. If your oven heats but bakes unevenly – browning the top while the interior stays undercooked – or if the broil function stops working entirely, that’s where to look. The same visual and multimeter tests apply.
The temperature sensor and what it actually does
The temperature sensor is a thin probe, usually mounted near the back of the oven cavity close to the broil element. It feeds constant temperature readings to the electronic control board, which uses those readings to decide when to turn the heating elements on and off. If the sensor is damaged, displaced, or giving false readings, the oven might cut off heat long before reaching the target temperature – or it might overheat and burn everything. A sensor that has been bumped out of position is one of the easier fixes. It should sit at a 90-degree angle to the back wall, not touching any other surface. If it’s leaning against the oven wall or resting near a heating element, it will read temperatures that don’t reflect what’s actually happening in the oven cavity. Moving it back into place sometimes resolves the problem entirely. If repositioning doesn’t help, you can test the sensor with a multimeter. The resistance value at room temperature varies by model, so check your manual or the manufacturer’s specs for the correct number. Most modern ovens will also display a fault code if the sensor has failed outright – worth checking before you pull anything apart. Sensor replacement is generally rated as an easy repair and typically takes 30 to 60 minutes. We see sensor issues fairly often in homes around East Vancouver, particularly in older buildings where the appliances have had years of use and the occasional DIY cleaning that inadvertently knocks things out of place.
Gas oven problems: the igniter and the gas supply
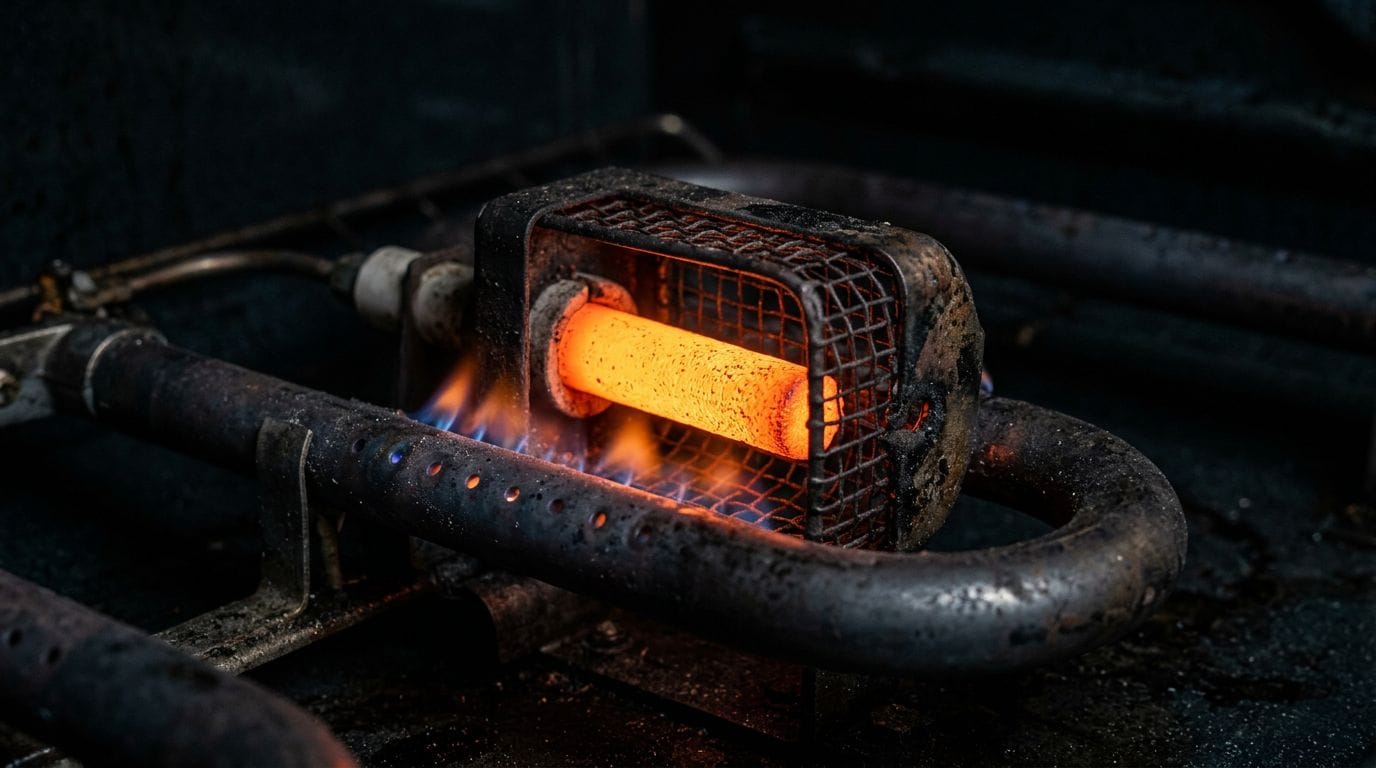 Gas ovens work differently. There’s no heating element to visually inspect, but there is an igniter – a small component that glows hot enough to light the gas flowing to the burner. When the igniter is working properly, you’ll hear a soft clicking or hissing, followed by the burner lighting within about 30 to 60 seconds. A weak or failing igniter can still glow but lack enough heat to open the gas valve reliably, which means the oven lights inconsistently or not at all. Signs of a failing igniter include: the oven taking much longer than usual to preheat, an irregular or lazy flame, or the igniter glowing for a long time without the burner catching. A dirty igniter – one coated with grease or food residue – can sometimes be cleaned carefully following the instructions in your appliance’s care guide. If there’s no buildup and the igniter still doesn’t perform, replacement is usually the right call. That’s a job for a licensed technician given the gas connection involved. If the igniter looks fine but the oven still won’t heat, check that the gas supply valve is actually open. The valve is typically on the gas branch pipe where it comes through the wall or floor, and it should be parallel to the pipe when open. If the stove burners also won’t light, the issue is likely with the gas supply to the whole appliance, not just the oven’s igniter. For anything involving gas lines in British Columbia, contact a licensed gas fitter – don’t attempt repairs yourself.
Calibration: when the oven heats but the temperature is off
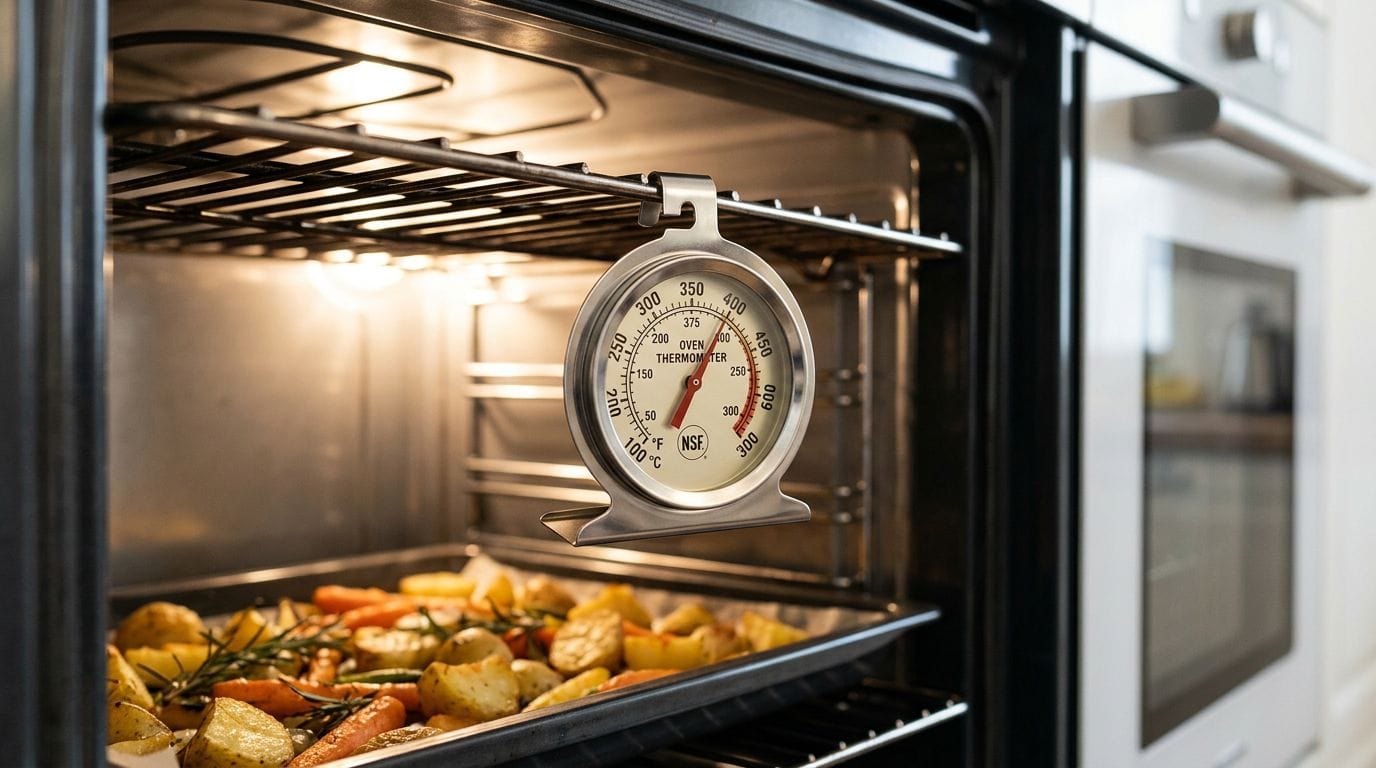 Sometimes the oven heats fine, but your food keeps coming out wrong. Cakes that need 35 extra minutes, cookies that burn at the recommended temperature, roasts that take forever. If everything else checks out – the elements work, the sensor is in position, the door seals properly – your oven may simply be miscalibrated. An oven thermometer is the easiest way to confirm this. Set your oven to 350 degrees Fahrenheit, let it fully preheat, and check the thermometer reading. If it consistently reads 25 or more degrees off from the set temperature, calibration is likely the fix. Most ovens with electronic controls can be adjusted through the settings. A common method involves pressing and holding the Bake and Broil buttons simultaneously for two seconds until the display shows a calibration mode, then using the plus or minus keys to adjust the temperature up or down. Many models allow adjustment of up to 35 degrees in either direction. Check your model’s manual for the exact sequence – it varies between manufacturers. For older ovens with manual controls, there’s often an adjustment screw at the back of the temperature knob itself. A small turn clockwise or counterclockwise shifts the calibration up or down. This is genuinely a five-minute fix if that’s all that’s wrong, and it’s free.
Other causes worth checking before you call for help
A few other things can cause heating problems that are easy to overlook. The oven door seal – the rubber or silicone gasket running around the door perimeter – can crack, harden, or pull away from the frame over time. Heat escaping through a damaged seal means the oven works twice as hard to maintain temperature and still may not get there. Run your hand around the door edge while the oven is on and feel for heat leaking out. If the seal looks cracked, flattened, or has gaps, replacing it is an inexpensive fix you can usually handle yourself. The circuit breaker is worth a specific check, especially for electric ovens. An electric range runs on a double-pole breaker, meaning two separate legs of power. If only one trips, the oven may appear to have power – display works, lights on – but will only produce partial heat. Look for a breaker that seems to be in the middle position rather than fully on or fully off, and reset it completely by flipping it fully off before turning it back on. Control panel lock features can also catch people off guard. Some ovens have a “Control Lock” or “Demo Mode” setting that prevents the oven from actually heating, even though the display functions normally. Holding the Control Lock button for three seconds usually resets it, but check your manual if you’re not sure which button that is. In some of the newer high-rise buildings going up around Yaletown and similar areas in Vancouver, we occasionally see ovens installed on circuits that don’t provide the correct voltage. An oven that has never heated well since installation is worth having an electrician check before you spend money on parts.
Should you repair or replace?
A bake element swap on a mid-range electric oven typically costs $50 to $150 in parts, plus labor if you’re not doing it yourself. A temperature sensor is similar. An igniter replacement on a gas oven runs a bit more when you factor in a licensed technician. These repairs generally make sense if the oven is less than 10 to 12 years old and the rest of the appliance is in decent shape. Where it gets more complicated is when the control board has failed, multiple components need replacing at the same time, or the oven is older and parts are getting scarce. If repair costs are pushing toward $400 or more on an appliance that’s well past its prime, replacement starts to make more financial sense. New oven technology has improved considerably – more accurate temperature control, better energy efficiency, convection options that weren’t standard a decade ago. Honestly, the tipping point for most homeowners is simpler than the math: if you’ve lost confidence in the appliance, replacement gives you peace of mind that no repair can fully restore.
Frequently asked questions
If you’ve worked through the checks above and still have questions, you’re not alone. These come up regularly when homeowners are trying to decide whether to dig deeper or pick up the phone.
Why is my oven heating up but not reaching the set temperature?
The most common causes are a partially failed bake element, a miscalibrated temperature sensor, or a faulty temperature probe sending wrong readings to the control board. Start by watching whether the bake element glows fully red when the oven is on – a dim or partially glowing element is often the culprit. If the element looks fine, use an oven thermometer to measure the actual interior temperature and compare it to your setting. A consistent gap of 25 degrees or more points toward a calibration issue or a sensor problem rather than a failed element.
My oven is on but barely warm – what does that mean?
An oven that feels warm but nowhere near hot usually means it’s receiving only partial power. For electric ovens, this strongly suggests one leg of the double-pole circuit breaker has partially tripped. Check your breaker panel and do a full reset. If the breaker keeps tripping, stop there and call an electrician – a breaker that won’t stay on is telling you something is wrong with the circuit or the appliance, and forcing it creates a fire risk.
Can I replace the bake element myself?
Many homeowners do replace bake elements themselves, and it’s genuinely one of the more manageable appliance repairs. Turn off the circuit breaker before you do anything, not just the oven’s control. The element is usually held by two screws at the back of the oven cavity and connects to two wire terminals. The main thing to be careful about is not letting those wire terminals retract into the back wall when you disconnect the old element – tape them to the oven wall if you need to. Use your model number to order the correct replacement part. That said, if you’re at all uncertain, there’s no shame in having a technician handle it. It’s a quick job for someone who does it regularly.
How do I know if my oven needs calibration or a new sensor?
Use an oven thermometer. If the oven is consistently off by the same amount – say, always 30 degrees low – calibration is probably all you need. If the temperature swings wildly, drops off mid-cook, or the oven throws an error code, the sensor itself is likely failing. A multimeter test of the sensor’s resistance at room temperature can confirm it, though you’ll need your model’s specific resistance spec to interpret the reading.
My gas oven ignites but then goes out – is that the igniter?
A gas oven that lights briefly and then goes out is often dealing with a weak igniter that can’t sustain enough heat to keep the gas valve open. The gas valve on most residential ovens is designed to stay open only when the igniter is drawing enough current – usually around 3.2 to 3.6 amps. A degraded igniter may glow but not draw enough current to hold the valve. This is a part replacement job, and because it involves both gas and electrical components, we’d recommend having a professional handle it rather than doing it yourself.
Wrapping up
Most oven heating problems come down to a handful of parts: the bake element, the igniter, the temperature sensor, or a calibration that’s drifted over time. Start with the visual checks – a bubbled or cracked element is obvious, and a dark, non-glowing element tells you what you need to know. From there, an oven thermometer and a quick look at your circuit breaker cover most of the remaining possibilities. Many of these fixes are genuinely manageable for a hands-on homeowner, but anything involving gas lines, live voltage testing, or control board replacement belongs with a professional. If you’d rather skip the troubleshooting and get a straight answer, we’re here for that. At Vancouver Appliance Service Pros, we handle oven repair across Vancouver and the surrounding area – along with washers, dryers, fridges, dishwashers, and most other household appliances. Give us a call and we’ll help you figure out what’s going on and what it’ll take to fix it.